
Every project begins with a collaborative consultation. We take the time to fully understand your development, target audience, brand vision, and sales objectives. Our design team then brings the concept to life into a cohesive narrative, covering everything from design style to proposed decorating, joinery and styling direction.
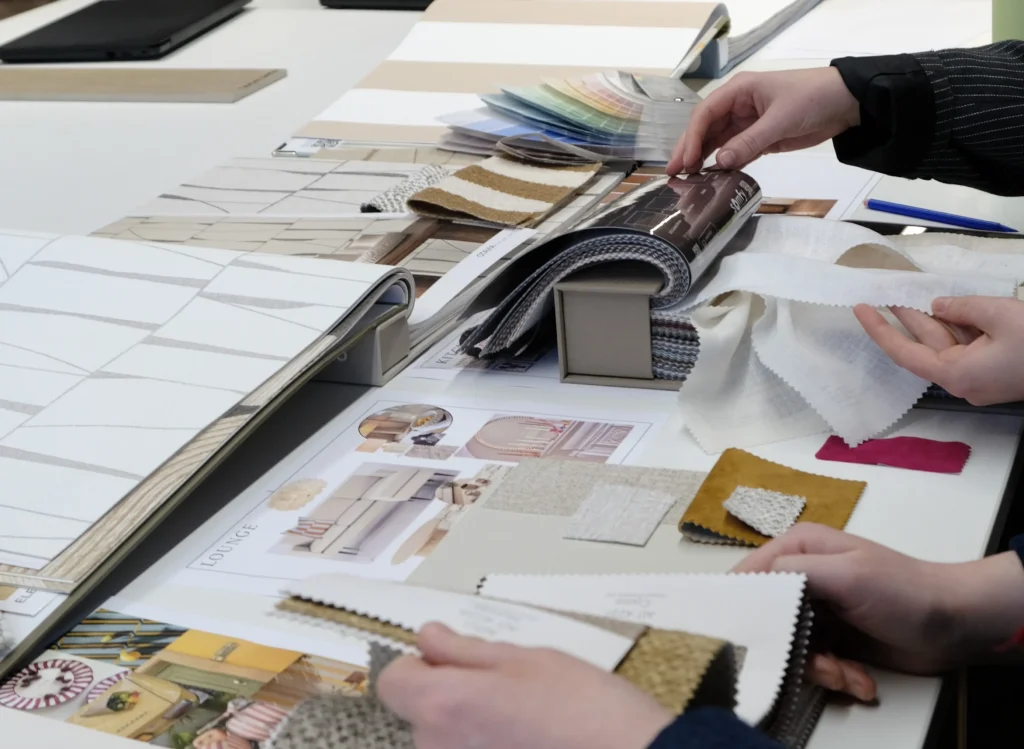
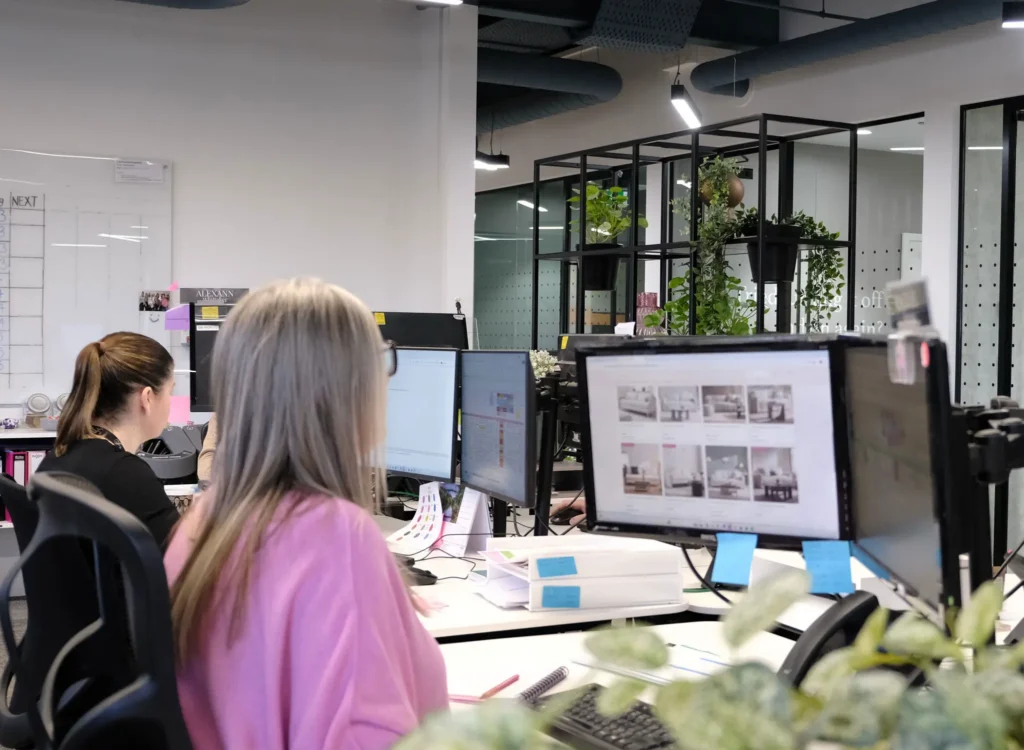
Once approved, our operations team works closely with your site managers to coordinate timelines, access, and logistics, ensuring everything runs smoothly and integrates seamlessly with your build schedule.
Our merchandising, warehouse and in-house workshop teams work together to source furniture and handcraft bespoke features unique to each show home. Every item is carefully prepared, quality checked and installed to ensure a flawless finish.
This is where the design comes to life. Every piece is bespoke, carefully designed or selected to reflect the buyer profile and create a cohesive, engaging home.
Our installation and styling teams deliver, install and style every detail, working seamlessly with your site schedule to complete the transformation within a week.
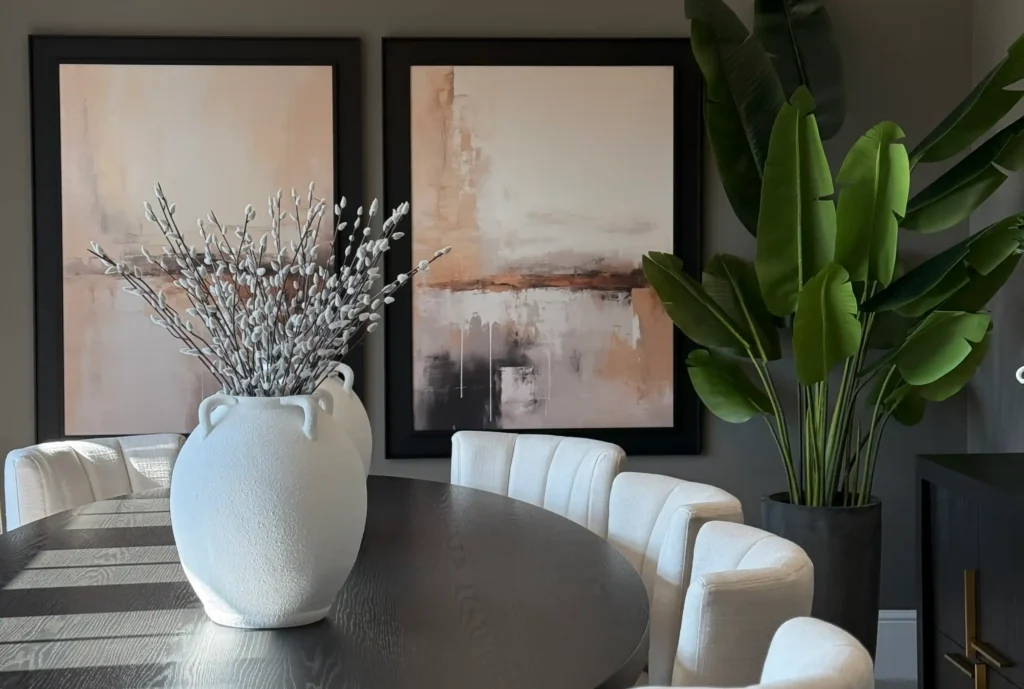
Once installation is complete, the finished show home is then handed over, fully prepared to impress, engage, and drive sales. To support you beyond this stage, our team provides you with an aftercare document, bespoke to your development, to help maintain presentation, safety and performance.
We know that questions often arise from both site and sales teams around maintaining and managing the space day-to-day.
To support this, we’ve outlined key aftercare guidance below, covering the most common queries to help you keep your plot(s) safe, compliant and presented to the highest standard.
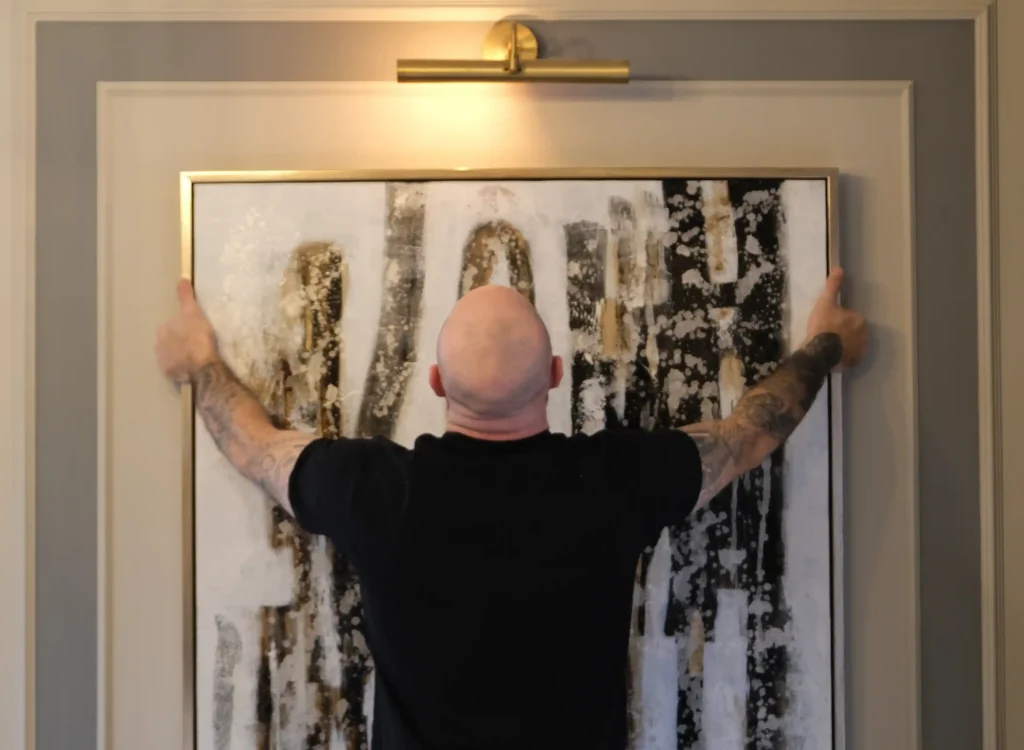
Some prints, mirrors and wall art are fitted using safety fixings called spring lock fittings. The release tool will help you remove the wall-mounted item and would have been left in a kitchen drawer by our install team. If it has been misplaced, please contact us, and we’ll be happy to help. Guidance on removing and reinstalling these fixings can also be found in your aftercare document.
The tilt controls are located on the left-hand side of the blind and do not require a cleat. A cleat will be securely fitted to an adjacent surface on the right-hand side of the blind, out of the reach of children and at least 1.5 metres above floor level. After each use, the cord should be secured around the cleat in a figure of eight.
If the cords on your Roman blind come loose or away from the blind, they can usually be easily refixed. Step-by-step guidance on how to do this safely can be found in your aftercare document.
Please note that our Roman blinds are fitted with a breakaway pulley system, so cleats, tensioners and P-clips are not installed.
If you’ve misplaced your decorating schedule or require paint codes for snagging, simply complete the contact form below. Select “Schedules” from the “Nature of Enquiry” drop-down, then choose the schedule(s) you require. We retain decorating schedules for up to three years and will be happy to send you a copy.
Not satisfied we have been able to answer your questions? Please complete the below form and we will aim to get back to you as soon as we can.